
Resin 3D printing has gained rapid popularity among artists, designers, and hobbyists for its ability to produce stunningly detailed models with smooth finishes. Whether you're interested in making intricate miniatures, custom jewelry, or highly accurate prototypes, a resin printer can unlock a world of creative possibilities. However, starting with resin printing requires more than just plugging in the machine. From safety preparations to mastering the printing process, several steps are essential to getting the best results.
Understand the Basics of Resin 3D Printing
Before you begin using a resin printer, it’s important to understand how it works. Resin printing relies on a process called photopolymerization. This involves curing liquid resin layer by layer using a light source such as UV lasers or LCD panels. The three most common types of resin printers are SLA (Stereolithography), DLP (Digital Light Processing), and LCD (Masked Stereolithography). Each type uses light to solidify resin in a precise pattern to create the 3D model.
Compared to FDM printers that use plastic filament, resin printers deliver much higher resolution and smoother surfaces, which makes them ideal for detailed creative work. However, they also require more careful handling and post-processing.
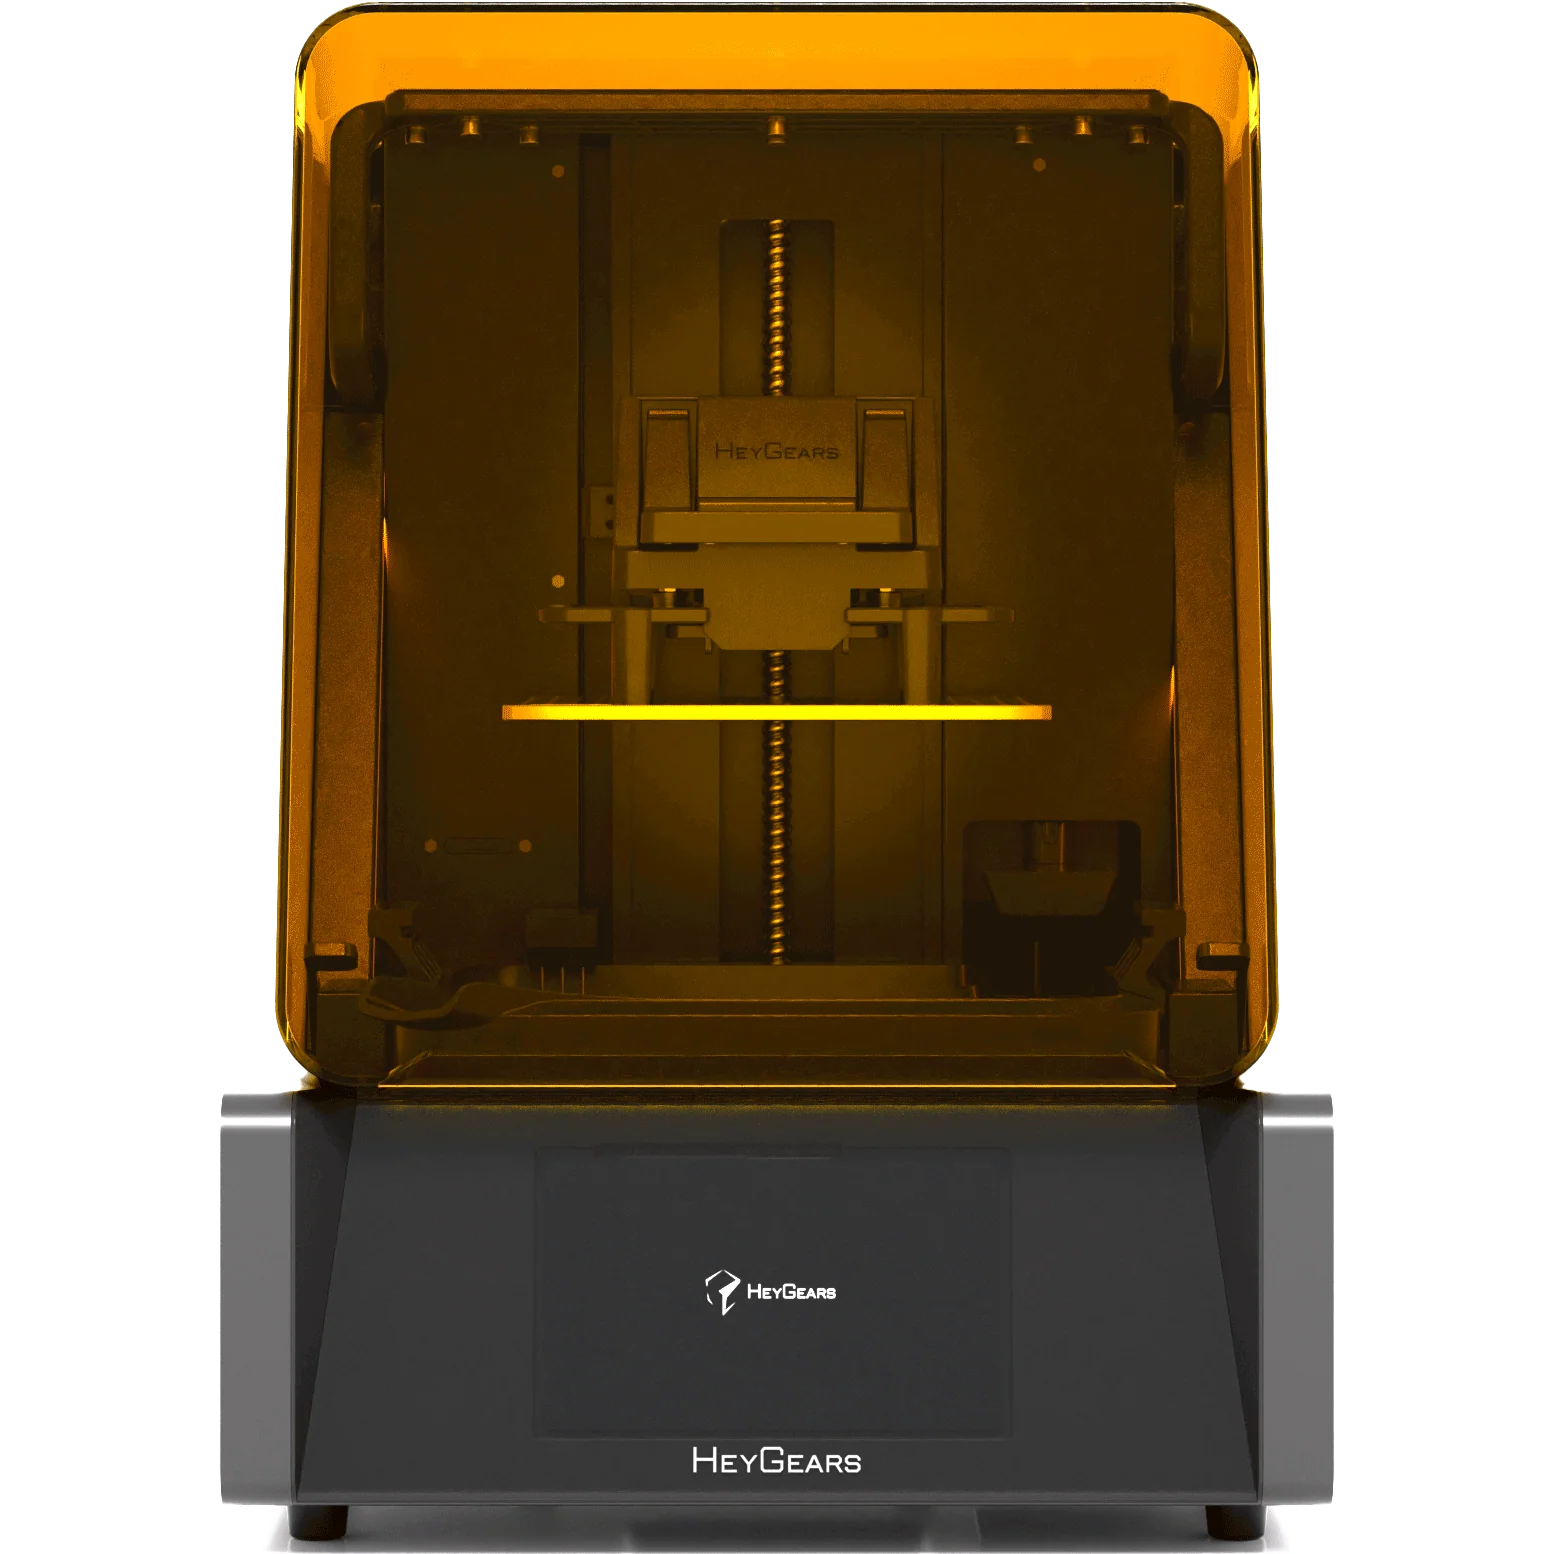
Choose the Right Resin Printer for Your Needs
Getting started begins with selecting the right machine. Many affordable and beginner-friendly resin printers are available today, including popular models from Anycubic, Elegoo, and Phrozen. When choosing your printer, consider factors such as print resolution, build volume, ease of use, and whether the printer has a good community or customer support.
For creative projects that focus on small, intricate models, high-resolution printers with XY resolution below 50 microns are often preferred. If you plan on printing larger parts or multiple models at once, consider a printer with a larger build plate.
Set Up Your Workspace Properly
Resin 3D printing requires a well-prepared workspace. Since uncured resin can be toxic and cause skin irritation, it’s important to work in a well-ventilated area and always wear gloves and safety goggles when handling resin.
Your workspace should include your printer, tools for cleanup, containers for isopropyl alcohol (for washing prints), paper towels, UV curing station or sunlight exposure area, and storage for resin bottles. Keeping the workspace organized and clean will help reduce mistakes and improve safety.
Install Slicing Software and Prepare Your Model
Every 3D printer requires software to convert digital models into printable instructions. For resin printers, slicing software such as ChiTuBox, Lychee Slicer, or the manufacturer’s own software is used. These programs allow you to import STL or OBJ files, scale your model, add supports, and slice it into layers for printing.
Adding supports is especially important in resin printing, as prints are usually suspended from the build plate and require strong support structures to prevent warping or failures. Most slicing software provides auto-support tools, but learning to place custom supports can significantly improve results.
Load the Resin and Start Printing
Once your model is sliced and saved to a USB drive or SD card, it’s time to prepare the printer. Shake the resin bottle thoroughly, then pour the required amount into the resin vat. Make sure the build plate is clean and level.
Load the file and start the print from the printer’s touch screen. The resin printer will begin curing the model layer by layer, slowly raising it from the vat as it builds. Depending on the size and detail of your model, the print may take anywhere from a few hours to more than a day.
Post-Processing Your Prints
After the print is finished, it needs to go through a few post-processing steps. Remove the model carefully from the build plate using a scraper or spatula. The model will still be covered in uncured resin, so it must be washed in isopropyl alcohol to remove the excess material.
This can be done manually in a container or using a dedicated wash station. After washing, the model must be fully cured under UV light to harden and strengthen it. You can use a UV curing machine or place the model in direct sunlight for several minutes.
Once cured, remove the support structures and do any sanding or painting as needed. Your high-detail model is now ready to use or display.
Common Mistakes to Avoid
As a beginner, you may encounter a few common challenges. One of the most frequent is print failure due to poor support placement or improper bed leveling. Ensuring that the build plate is perfectly leveled and that your model is correctly oriented in the slicer helps prevent these issues.
Another issue is incomplete curing or sticky prints. This is usually due to inadequate washing or UV exposure. Make sure each step is done thoroughly and don’t rush the post-processing.
Also, avoid overfilling the vat with resin, which can lead to spills and wasted material. Start with the amount recommended for your model’s estimated volume and add more as needed during the process.
Explore Creative Possibilities
Once you’re comfortable with the process, resin printing can become an exciting creative outlet. You can print character miniatures for tabletop games, custom jewelry pieces, miniature architecture models, cosplay accessories, and even functional art.
Many online communities, such as Reddit, Facebook groups, and Discord servers, share free models, advice, and print settings. These resources are extremely helpful as you begin your journey with resin printing and want to learn from the experiences of others.
Maintenance and Long-Term Use
To keep your resin printer in top condition, regular maintenance is necessary. Clean the vat and build plate after each use. Check the FEP film for scratches or cloudiness and replace it if needed. Keep the light source and LCD screen clean and dust-free.
Proper storage of resin is also important. Keep it in a dark, cool place, tightly sealed. If you leave resin in the vat between prints, use the printer’s cover to protect it from light exposure. With proper care, your resin printer can remain a reliable tool for years.
Conclusion
Getting started with a resin printer for your creative projects is an exciting step into a world of fine detail and artistic freedom. While the process involves more setup and post-processing than other types of 3D printing, the results are often far superior in terms of precision and visual quality.


